ディスクの増設
ディスクをコントロールパネル側で追加完了した後、ディスクの増設作業が必要になりため、下記の手順をご参照ください。
1. 準備
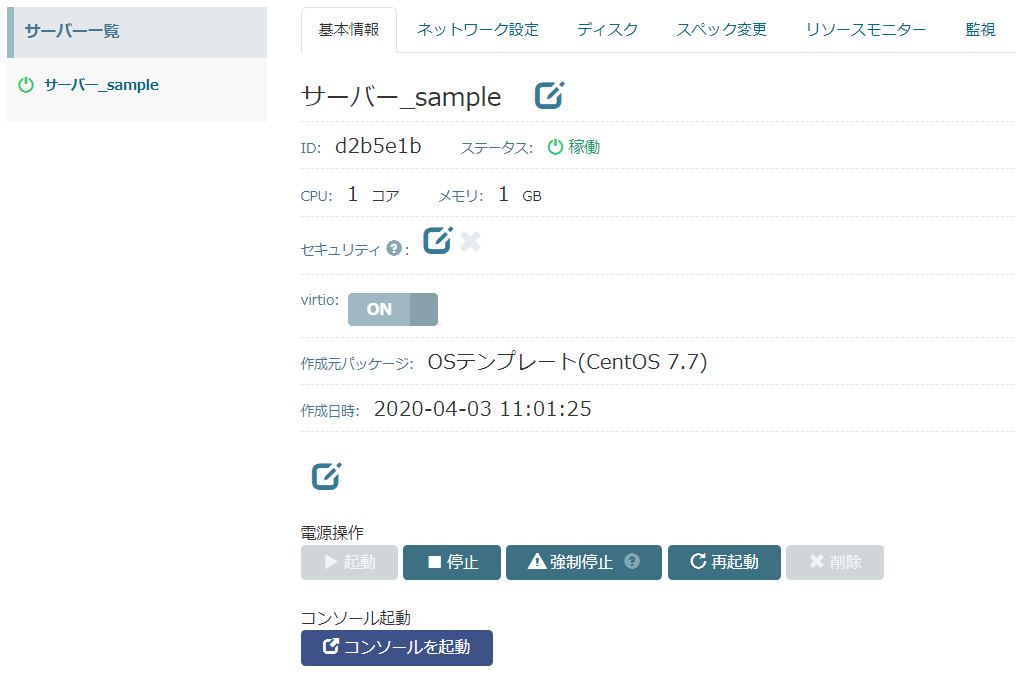
サーバー作成
ここにはOSが「CentOS7」、容量は「20GB」のサーバーを例にします。

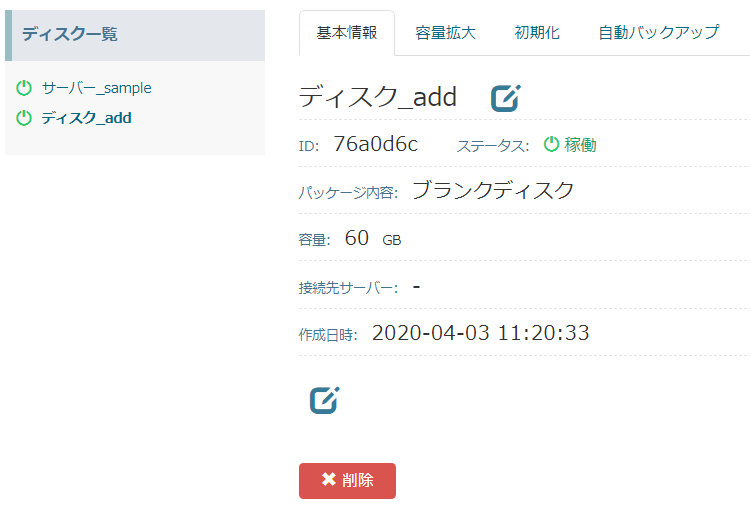
追加分のディスク作成
ここには60GBのブランクディスクを例にします。

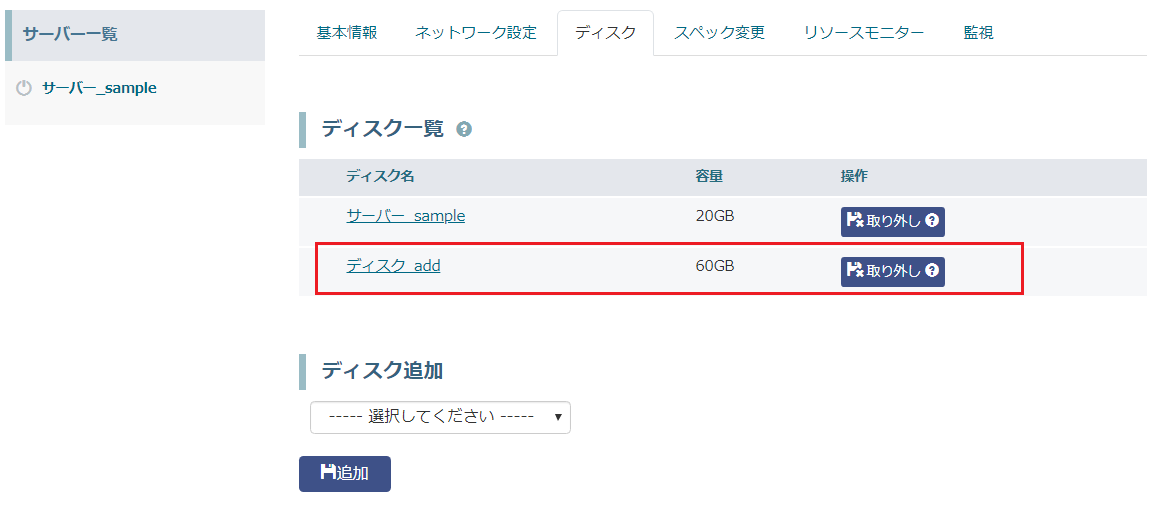
追加分のディスクをサーバーに追加する
まず、ディスク接続前のサーバー状態を確認します。
# fdisk -l

Disk /dev/vda: 21.5 GB, 21474836480 bytes, 41943040 sectors
Units = sectors of 1 * 512 = 512 bytes
Sector size (logical/physical): 512 bytes / 512 bytes
I/O size (minimum/optimal): 512 bytes / 512 bytes
Disk label type: dos
Disk identifier: 0x000b6471

   Device Boot      Start         End      Blocks   Id  System
/dev/vda1   *        2048    41943039    20970496   83  Linux
OSが入っているディスクは一つしかないことが確認できました。
では、コントロールパネル経由でサーバーを停止して追加分のディスクをサーバーに接続します。

サーバーを起動して追加したディスクが認識できていることを確認します。
# fdisk -l

Disk /dev/vda: 21.5 GB, 21474836480 bytes, 41943040 sectors
Units = sectors of 1 * 512 = 512 bytes
Sector size (logical/physical): 512 bytes / 512 bytes
I/O size (minimum/optimal): 512 bytes / 512 bytes
Disk label type: dos
Disk identifier: 0x000b6471

   Device Boot      Start         End      Blocks   Id  System
/dev/vda1   *        2048    41943039    20970496   83  Linux

Disk /dev/vdb: 64.4 GB, 64424509440 bytes, 125829120 sectors
Units = sectors of 1 * 512 = 512 bytes
Sector size (logical/physical): 512 bytes / 512 bytes
I/O size (minimum/optimal): 512 bytes / 512 bytes
上記結果の Disk /dev/vdb: 64.4GB 64424509440 bytes, 125829120 sectors が増設ディスクに該当します。
だた、この状態ではディスクは認識されていてもOS上で読み書きできる状態ではありません。 次にディスクが読み書きできるまでの設定を紹介します。
2. 追加ディスクの領域を作成する
fdiskコマンドを使用し、領域を作成します。
# fdisk /dev/vdb
Welcome to fdisk (util-linux 2.23.2).

Changes will remain in memory only, until you decide to write them.
Be careful before using the write command.

Device does not contain a recognized partition table
Building a new DOS disklabel with disk identifier 0x6ac879c9.
「m」を入力してコマンドを確認します。
Command (m for help): m
Command action
a   toggle a bootable flag
b   edit bsd disklabel
c   toggle the dos compatibility flag
d   delete a partition
g   create a new empty GPT partition table
G   create an IRIX (SGI) partition table
l   list known partition types
m   print this menu
n   add a new partition
o   create a new empty DOS partition table
p   print the partition table
q   quit without saving changes
s   create a new empty Sun disklabel
t   change a partition's system id
u   change display/entry units
v   verify the partition table
w   write table to disk and exit
x   extra functionality (experts only)
「n」を入力して新たにパーティションを作成します。
Command (m for help): n
Partition type:
   p   primary (0 primary, 0 extended, 4 free)
   e   extended
「p」を入力して基本領域を選択します。
Select (default p):p
「1」を入力して領域番号を指定します。
Partition number (1-4, default 1):
始点・終点シリンダを指定します。 今回は「First sector」も「Last sector」もデフォルト値で指定します。
First sector (2048-125829119, default 2048): 2048
Last sector, +sectors or +size{K,M,G} (2048-125829119, default 125829119): 125829119
Partition 1 of type Linux and of size 60 GiB is set
「p」を入力してデバイス状況確認をします。「/dev/vdb1」が表示されば問題はありません。
Command (m for help): p

Disk /dev/vdb: 64.4 GB, 64424509440 bytes, 125829120 sectors
Units = sectors of 1 * 512 = 512 bytes
Sector size (logical/physical): 512 bytes / 512 bytes
I/O size (minimum/optimal): 512 bytes / 512 bytes
Disk label type: dos
Disk identifier: 0x0e77861d

   Device Boot      Start         End      Blocks   Id  System
/dev/vdb1            2048   125829119    62913536   83  Linux
「w」を入力してテーブルをディスクに書き込み終了します。
Command (m for help): w
The partition table has been altered!

Calling ioctl() to re-read partition table.
Syncing disks.
3. 追加ディスクをマウントする
新しく追加した領域を「ext4」でフォーマットします。容量次第に時間がかかる場合もあります。
# mkfs -t ext4 /dev/vdb1
mke2fs 1.42.9 (28-Dec-2013)
Filesystem label=
OS type: Linux
Block size=4096 (log=2)
Fragment size=4096 (log=2)
Stride=0 blocks, Stripe width=0 blocks
3932160 inodes, 15728384 blocks
786419 blocks (5.00%) reserved for the super user
First data block=0
Maximum filesystem blocks=2164260864
480 block groups
32768 blocks per group, 32768 fragments per group
8192 inodes per group
Superblock backups stored on blocks:
        32768, 98304, 163840, 229376, 294912, 819200, 884736, 1605632, 2654208,
        4096000, 7962624, 11239424

Allocating group tables: done
Writing inode tables: done
Creating journal (32768 blocks): done
Writing superblocks and filesystem accounting information: done
マウント用のディレクトリを作成します。
# mkdir /add_disk1
# ll
drwxr-xr-x   2 root root    6 Apr  3 13:36 add_disk1
追加したディスクのUUIDを確認します。今回追加したディスク「/dev/vdb1」のUUIDは「b05fff44-0b07-4a7f-9141-99dfe2e03dec」であることは確認できました。
# blkid
/dev/vda1: UUID="2ffbee83-7d6c-466d-b38e-9dca5711fa9d" TYPE="xfs"
/dev/vdb1: UUID="b05fff44-0b07-4a7f-9141-99dfe2e03dec" TYPE="ext4"
/dev/sr0: UUID="2020-04-03-11-49-39-00" LABEL="config-2" TYPE="iso9660"
追加したディスクのパーティション情報を「/etc/fstab」追記します。 追記しないなら、再起動するとパーティション情報が失われますから、設定を永続化にする必要があります。 今回の例では最終行に「UUID=b05fff44-0b07-4a7f-9141-99dfe2e03dec /add_disk1 ext4 defaults 1 2 」を追記します。
vi /etc/fstab
#
# /etc/fstab
# Created by anaconda on Fri Dec 20 15:13:26 2019
#
# Accessible filesystems, by reference, are maintained under '/dev/disk'
# See man pages fstab(5), findfs(8), mount(8) and/or blkid(8) for more info
#
UUID=2ffbee83-7d6c-466d-b38e-9dca5711fa9d /                       xfs     defaults        0 0
UUID=b05fff44-0b07-4a7f-9141-99dfe2e03dec /add_disk1 ext4 defaults 1 2
注釈
fstabに記述したままコントロールパネルからディスクをはずすと、サーバーを再度起動時にエラーとなり起動できなくなります。ディスクをはずす前に、必ずfstabの記述を削除してください。
もしfstabの記述を削除し忘れ起動はできなくなる場合、コントロールパネルのコンソールを起動してサーバーに入ってfstabの記述を削除することは可能です。その後、正常にサーバーに入れるようになります。
作成したディレクトリにマウントします。
# mount /dev/vdb1 /add_disk1
ここまで、マウントはできたはずです。「fdisk」でディスク状態を確認します。
# fdisk -l

Disk /dev/vda: 21.5 GB, 21474836480 bytes, 41943040 sectors
Units = sectors of 1 * 512 = 512 bytes
Sector size (logical/physical): 512 bytes / 512 bytes
I/O size (minimum/optimal): 512 bytes / 512 bytes
Disk label type: dos
Disk identifier: 0x000b6471

   Device Boot      Start         End      Blocks   Id  System
/dev/vda1   *        2048    41943039    20970496   83  Linux

Disk /dev/vdb: 64.4 GB, 64424509440 bytes, 125829120 sectors
Units = sectors of 1 * 512 = 512 bytes
Sector size (logical/physical): 512 bytes / 512 bytes
I/O size (minimum/optimal): 512 bytes / 512 bytes
Disk label type: dos
Disk identifier: 0x0e77861d

   Device Boot      Start         End      Blocks   Id  System
/dev/vdb1            2048   125829119    62913536   83  Linux
念のため、「df」コマンドでも確認します。「add_disk1」が表示されているので増設ディスクが正しくマウントされていることが確認できます。
# df -h
Filesystem      Size  Used Avail Use% Mounted on
devtmpfs        486M     0  486M   0% /dev
tmpfs           496M     0  496M   0% /dev/shm
tmpfs           496M  6.7M  489M   2% /run
tmpfs           496M     0  496M   0% /sys/fs/cgroup
/dev/vda1        20G  1.4G   19G   7% /
tmpfs           100M     0  100M   0% /run/user/0
/dev/vdb1        59G   53M   56G   1% /add_disk1
読み書きの確認もします。
# vi /add_disk1/test.txt
# cat /add_disk1/test.txt
=========================
This is a test file
========================
サーバーを「shutdown」して再ログインします。マウント情報は永続化保存されたかを確認します。
# shutdown -r now
# cat /add_disk1/test.txt
=========================
This is a test file
========================
作成したテストファイルは失われないから、ディスクの増設はできました。